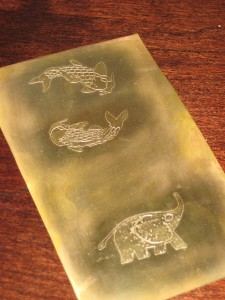
I ran across the steampunk workshop’s brass etching guide a while ago, and I’ve been meaning to try it out since then. Last week I finally got around to it, and the results look pretty nice.
The process is pretty simple.
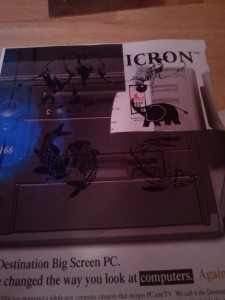
Step one is to print a stencil onto glossy paper (I used old magazine pages) using a laser printer. The laser printer is necessary because the toner can be melted using an iron.
I cleaned the brass I was planning to use by polishing it with steel wool, then rubbing it down with alcohol to remove any oils from my fingers. Next I put the stencil face down on my brass and ironed it. I held the iron down on each stencil for two or three minutes and pushed pretty hard. This melted the toner and stuck it to the brass.
After ironing, the paper was stuck to the toner, which was stuck to the brass. I soaked the whole thing in water overnight, then gently brushed away all the paper. Some of my stencils ended up with a couple of holes, so I painted over those with some acrylic paint.
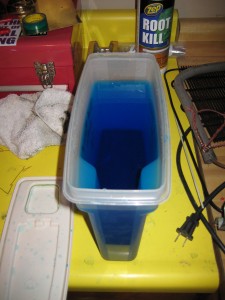
The next step was the actual etching. This involves submerging the brass in a copper sulfate solution and running a current through it. The copper sulfate solution is a very pretty blue.
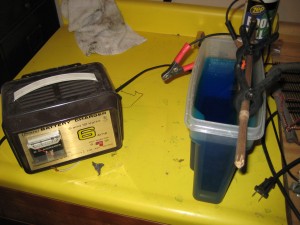
The working piece (which you want to remove metal from) gets connected to the positive terminal of an old battery charger I had. I used an old piece of brass about the same size as my working piece as the negative terminal. When I hooked up the battery charger, molecules would leave the surface of the positively charged plate and be deposited on the negatively charged plate.
The etching took about half an hour to an hour, but part of that was because my current was actually too high. Normally a higher current corresponds to faster etching, but in my case the high current caused the battery charger to overheat and shut down. I had to keep letting the battery charger cool before I could restart the etching. I could reduce the current by putting a resistor in series with the brass plates, but it would have to be a very small, very high power resistor.
The battery charger is rated for 6A, but I was running probably 12 to 20 through it. Let’s just assume 16A. That means my brass etching setup probably has a resistance of about 12/16 = .75 Ohms (see Ohm’s law). To drop the current to only 6A, we’d need a resistor that was 12/6-.75=1.25 Ohms. It would have to be able to withstand 1.25*6^2 = 45W. That’s is a beefy resistor.
An alternative to a series resistor is to make the resistance of my etching bath higher. I could do this by using a smaller negative terminal. The negative terminal should be about the same size as the working piece so that it etches evenly, but I think I could get away with using a brass mesh rather than with using a brass plate.
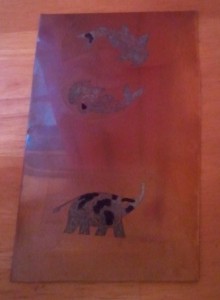
In any case, my etches came out fairly nicely. The holes I patched up using acrylic paint didn’t turn out very well. I think the acrylic paint pulled off while I was etching. Everything covered by toner turned out nicely though. After I had finished the etching, I grabbed some steel wool and polished the whole thing to a nice shine.
