I’ve been using the Arduino for a few years now, but all of my projects with it were pretty self contained. I made some robots and some light controllers, but those things just sit there and do whatever it is they do. Until now, I’ve never used the Arduino as an analog front end for a PC. A lot of people seem to use the Arduino only for that purpose.
I was sitting around the other day thinking about this, and I decided I’d try to figure out how to do it. I could have just written something that would communicate with the Arduino over USB (kind of like RepG does with the MakerBot), but I only had an hour and I wanted to get something working quickly.
Enter Processing. I’ve only made one project with Processing before, but it did make it pretty easy. I’ve also heard that Processing interfaces with the Arduino easily. So now I had two tools, the Arduino and Processing, I just needed something to build with them. I looked in my junk box, and found two nice 100k potentiometers. This reminded me of the Propeller based Etch-A-Sketch. Since I didn’t have an Etch-a-Sketch handy, I just decided to use the potentiometers to draw pictures in Processing.
I hooked my Pots up to the first two analog inputs of my Arduino and did a quick google search. Turns out that processing communicates with a prewritten sketch called Firmata. The Arduino IDE comes with a couple of different versions of Firmata, each geared towards a different usage of the Arduino. The AnalogFirmata sketch worked pretty well for my needs.
A few minutes later, I’m twiddling my pots and drawing pictures. I also added a button to my sketch to allow me to save whatever I was drawing. This was actually the hardest part of the whole endeavor, because the AnalogFirmata didn’t have digital inputs. A little copy/paste action from the DigitalFirmata to the AnalogFirmata, and I was back in business.
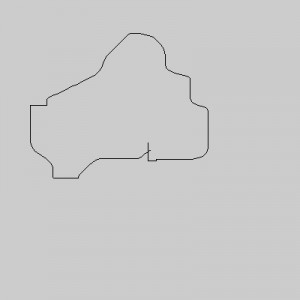
I drew Greenlake.
